The roller marks on a freshly painted wall are not always a technical issue. They can also indicate a substrate absorption defect, paint applied too soon over the previous layer, or a roller whose fibers do not match the chosen finish. Understanding the exact origin of these marks determines the correction method, as adding an additional layer does not solve all cases.
Wall Porosity and Misdiagnosis of Roller Marks
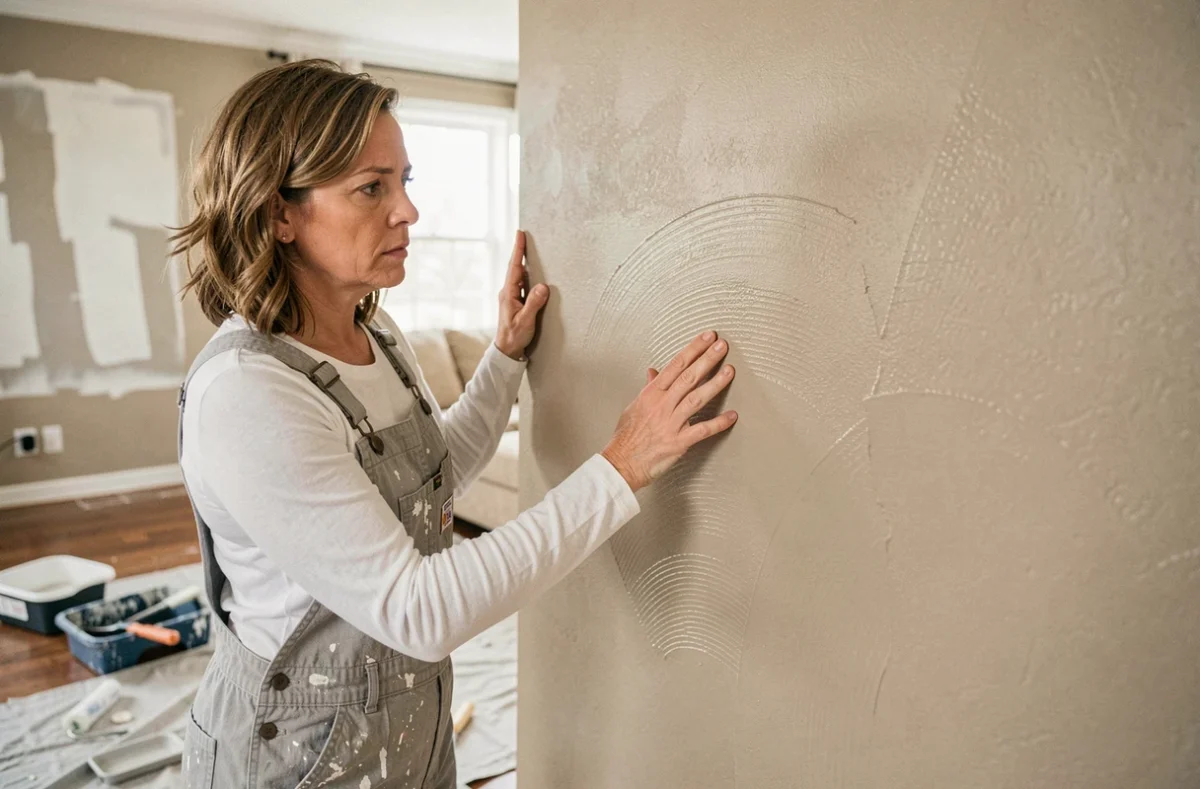
A wall with varying porosity from one area to another produces differences in absorption that resemble roller marks. A patching compound, a re-plastered area, or an old wallpaper seam absorbs paint differently than the rest of the surface.
The result: matte areas next to slightly satin areas, visible especially in low-angle light. This defect persists even after several coats of finish. The correction involves applying a homogenizing primer that equalizes absorption before any finishing paint is applied.
To permanently eliminate roller marks, it is essential first to determine whether the problem comes from the technique or the substrate. A simple test involves spraying a little water on the bare wall: if some areas absorb faster than others, the porosity is uneven, and no application technique will compensate for this imbalance.
Actual Drying Time Between Two Coats of Paint
The mention “touch dry” on the can does not give the green light to apply the next coat. The recoat time is listed on the manufacturer’s technical data sheet and depends on the product formulation, the thickness applied, the ambient temperature, humidity, and air circulation in the room.
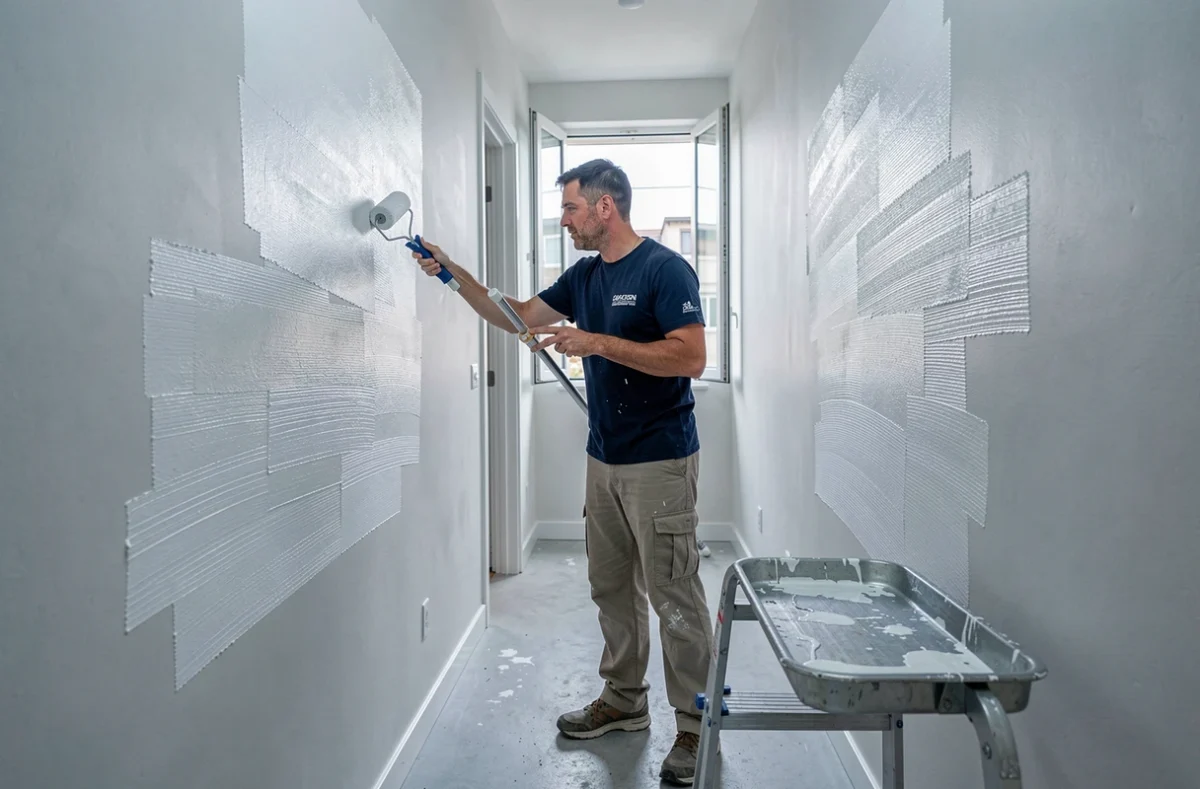
Repainting too soon rehydrates the underlying layer. The new layer and the old partially merge, creating irregular thick spots and visible touch-ups. This phenomenon is particularly pronounced with matte acrylic paints, whose film remains sensitive longer than it appears.
In practice, it is better to wait beyond the indicated minimum time rather than take a risk. A poorly ventilated or cool room significantly extends the drying time compared to the laboratory conditions in which the manufacturer tested its product.
Choosing the Roller and Surface Texture for a Mark-Free Finish
The roller leaves a texture on the wall. This texture varies according to three parameters:
- The length of the fibers: short fibers leave a fine texture suitable for satin or glossy finishes, while long fibers are suitable for textured surfaces or thick matte paints.
- The diameter of the roller: a small diameter roller leaves more rotation marks than a wide roller, as the passes overlap more often.
- The paint load: an overloaded roller creates raised edges with each pass, forming visible parallel lines after drying.
A roller suited to the chosen finish reduces marks as much as the technique. For a satin paint on a smooth wall, a short-haired roller (like a lacquer roller) produces a uniform film. Applying the same paint with a medium-haired roller intended for textured walls will leave a grainy texture that is impossible to correct without sanding.
Localized Touch-Up: Mini-Roller Instead of Brush
A touch-up with a brush on a roller-painted wall often remains visible, even with the same paint and shade. The difference in texture between the brush and the roller creates a contrast that light reveals.
To correct a localized mark, a mini-roller reproducing the initial texture gives a less detectable result. The touch-up should blend into the surrounding surface by crossing the passes, without going back over the wet area multiple times.
Final Check Under Low-Angle Lighting After Complete Drying
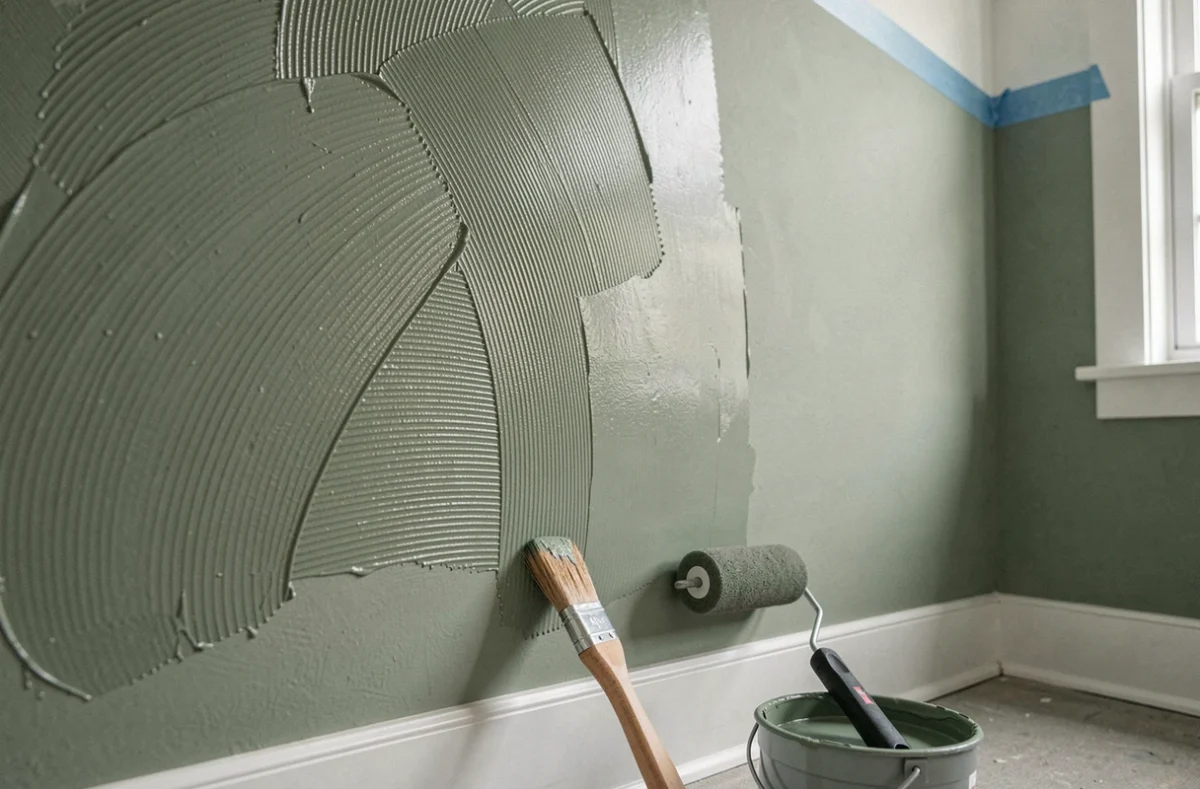
A wall may appear perfectly uniform under the diffuse light of a construction site, then reveal bands of gloss or thick spots once the final lighting is installed. The final check should be done after complete drying and under low-angle light, meaning with a light source placed almost parallel to the wall.
This technique exposes all surface irregularities: residual roller marks, visible seams, overloaded areas. It is the same principle that professional painters use to validate their work before acceptance.
Also checking under the usual lighting of the room (ceiling light, bedside lamp, natural light from the window) allows for identifying defects that are truly perceptible on a daily basis. Some marks visible in low-angle light disappear entirely under frontal lighting and do not warrant a touch-up.
Sanding Touch-Up on Dry Paint: Method and Limits
When marks are set on completely dry paint, light sanding with fine sandpaper can smooth out the thick spots before applying another coat. The action should remain superficial to avoid damaging the substrate, especially on drywall where the paper deteriorates quickly under excessive pressure.
After sanding, careful dusting (soft brush followed by a damp cloth) is necessary for the touch-up coat to adhere properly. Any residual dust creates micro-defects in the paint film.
- Use a fine-grit abrasive to avoid scratching the surface beyond what the paint can mask.
- Work with light circular motions on the overloaded areas, without pressing.
- Apply the touch-up coat over the entire wall section, not just on the sanded area, to avoid a visible paint seam.
Touching up only the defective area is tempting, but the seam between the touched-up area and the rest of the wall is almost always visible, especially on satin finishes. Repainting the entire wall, from corner to corner, remains the most reliable method for achieving a uniform surface.
The quality of wall paint relies less on the final action than on the preparation of the substrate and adherence to drying times. A properly prepared wall, a primer suited to the porosity, and a roller chosen for the desired finish minimize touch-ups to the strict minimum.